Duck Nails: 7 Stunning Design Ideas & Style Inspiration
If you’ve been searching for a quick way to grow duck nails in just 7 days, you’re in the right place.
Duck nails have taken the nail art world by storm, offering a bold, flared silhouette that instantly elevates any look. Whether you’re preparing for a special event or simply want to experiment with a daring shape, achieving this eye‑catching style doesn’t have to be a months‑long process. In this guide, we’ll walk you through the essential tools, a simple step‑by‑step routine, design inspirations, and maintenance tricks that will have you flaunting flawless duck nails in under a week.
Table of Contents
What Is This Nail Style? (Duck Nails)
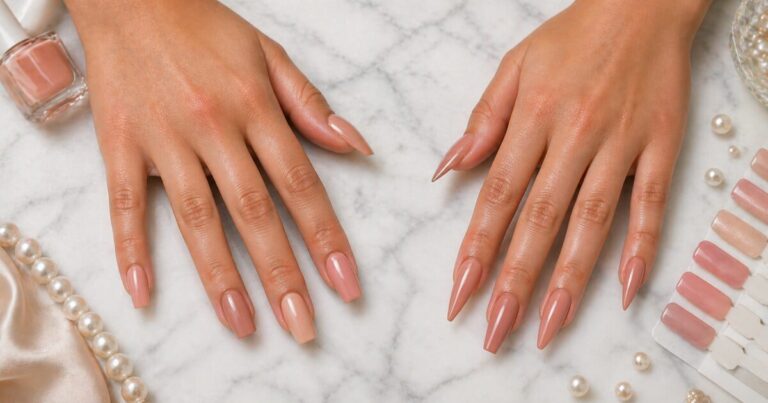
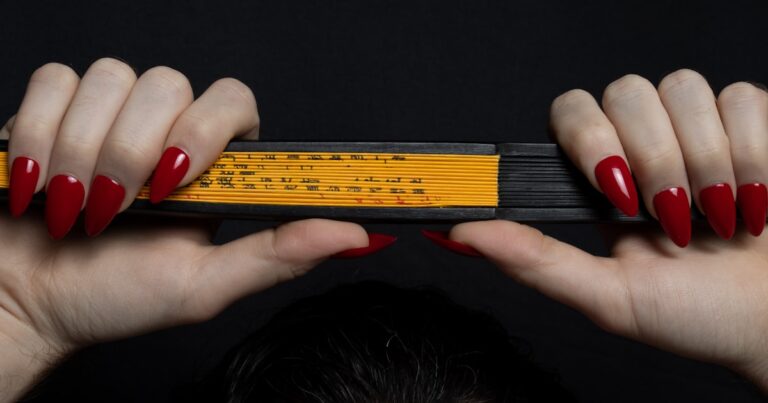
The duck nail shape is characterized by a wide, flared tip that resembles the webbed foot of a duck. Unlike traditional almond or stiletto nails, the sides of the nail are filed straight outwards before tapering back to a point, creating a distinctive “duck‑foot” silhouette. This shape provides a larger canvas for intricate duck nail designs, making it a favorite among nail artists who love to play with geometric patterns, glitter gradients, and 3‑D embellishments.
Because the flare adds width, duck nails naturally strengthen the free edge, reducing the likelihood of breakage when properly maintained. They work best on medium to long nail beds, but with the right filing technique, even shorter nails can achieve a subtle duck‑tip effect.
Why This Nail Trend Is Popular in 2026
In 2026, the beauty industry continues to celebrate individuality, and duck nails embody that spirit perfectly. Social media platforms like TikTok and Instagram have amplified the trend, with creators showcasing quick‑transform videos that highlight the dramatic before‑and‑after of a duck‑shape manicure. The shape’s versatility allows it to transition from everyday glam to festival‑ready art, making it a go‑to choice for influencers and everyday nail enthusiasts alike.
Another factor driving its popularity is the nail health benefit. The broader tip distributes stress more evenly across the nail plate, which can lead to fewer splits and chips when combined with a solid base coat and regular cuticle care. As more people seek styles that are both fashionable and functional, duck nails check both boxes.
Tools & Products You Need
To grow and shape duck nails efficiently, gather the following items before you begin:
- Nail file (180/240 grit) – for shaping the flare without causing splits.
- Cuticle pusher and nipper – to keep the nail bed clean and promote healthy growth.
- Strengthening base coat – preferably one with calcium or vitamin E.
- Gel or acrylic builder (if you prefer extensions) – to add length quickly.
- Top coat with UV protection – to seal designs and prevent yellowing.
- Nail oil or cuticle cream – for daily hydration.
- Fine‑grade buffer – to smooth the surface before applying polish.
- Design supplies – striping tape, stamping plates, glitter, and rhinestones for duck nail designs.
Having these tools on hand will streamline the 7‑day plan and ensure each step contributes to stronger, longer nails.
Step-by-Step Guide
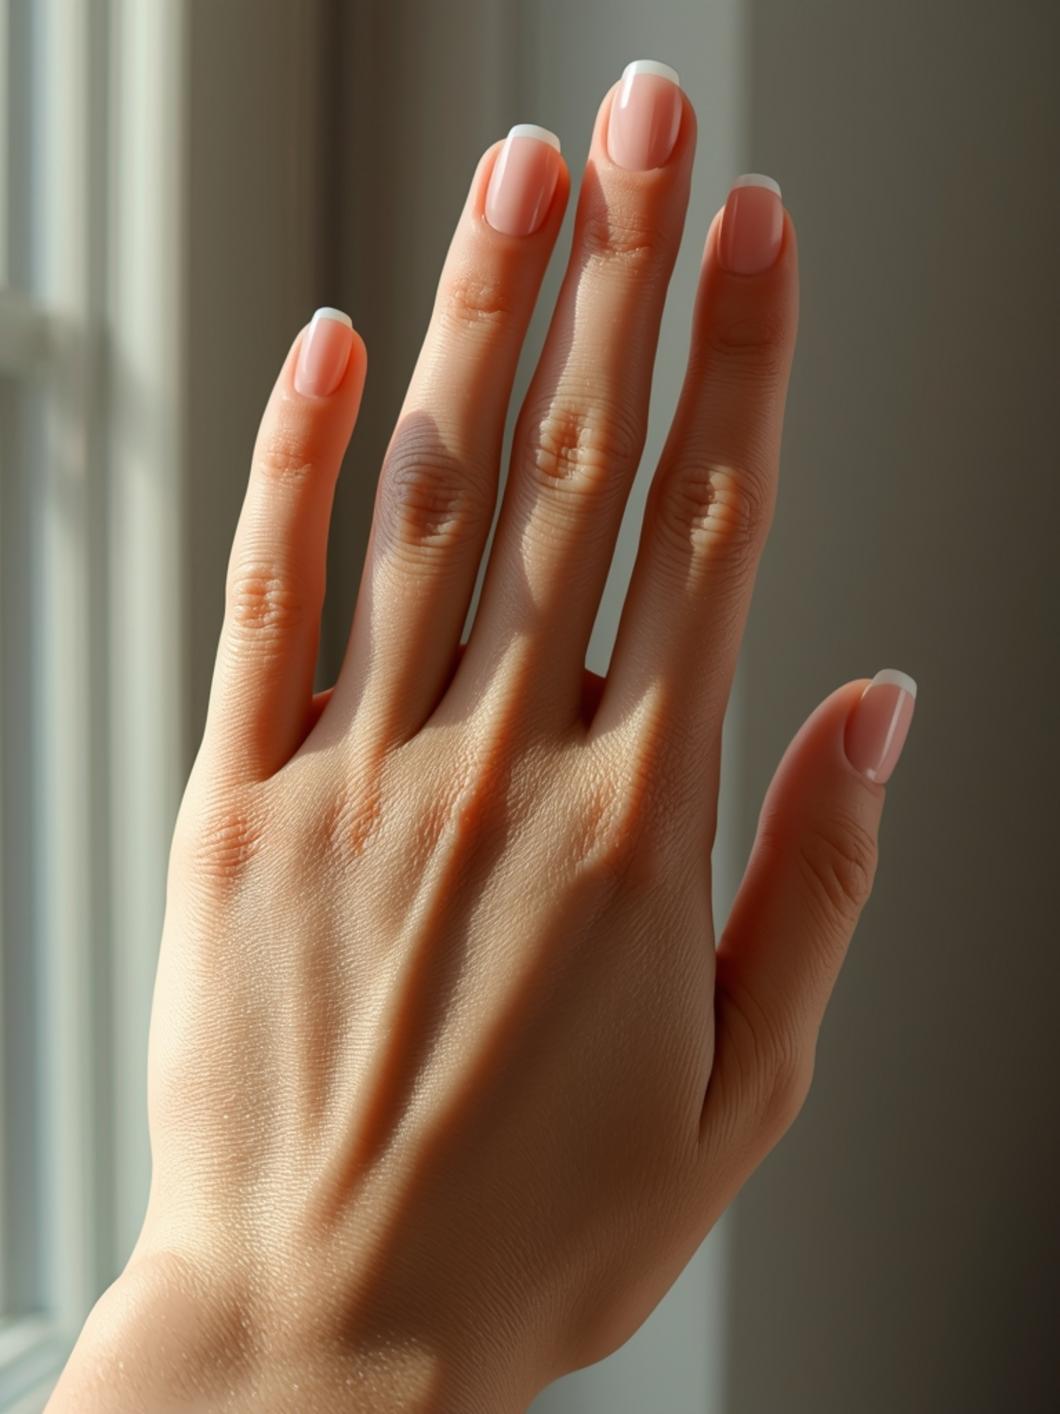
Follow this daily routine to see noticeable length and shape improvement within a week.
Day 1 – Prep & Protect
Start by removing any old polish. Soak nails in warm, soapy water for three minutes, then gently push back cuticles. File the sides straight out to create the initial flare, keeping the tip slightly rounded to avoid sharp edges. Apply a strengthening base coat and let it dry.
Day 2 – Boost Growth
Massage cuticle oil into the nail bed twice daily. This stimulates circulation, encouraging faster keratin production. If you want instant length, apply a thin layer of gel builder on the free edge, cure under UV/LED for 30 seconds, and shape the flare with your file.
Day 3 – Reinforce the Shape
Check the symmetry of both nails. File any uneven areas, focusing on maintaining the outward flare. Apply another thin layer of base coat, followed by a nude or sheer pink polish to visualize the shape.
Day 4 – Hydrate & Strengthen
Soak nails in a mixture of warm water and a few drops of lavender oil for five minutes. Pat dry, then apply a thick layer of cuticle cream. Wear cotton gloves for 20 minutes to lock in moisture.
Day 5 – Add Length (Optional)
If you chose not to use extensions earlier, now is the time to add a tips or forms. Align them with the duck‑flare outline, secure with nail glue, and file to blend seamlessly with your natural nail.
Day 6 – Design Time
With the shape set, unleash your creativity. Try a negative‑space geometric pattern, a glitter ombre, or delicate foil accents. Remember to seal each layer with a top coat to protect your artwork.
Day 7 – Final Touches & Maintenance
Inspect the nails for any lifting or rough spots. Lightly buff the surface, reapply top coat, and finish with a nourishing cuticle oil. Your duck nails should now look polished, strong, and ready to show off.
Best Design Ideas
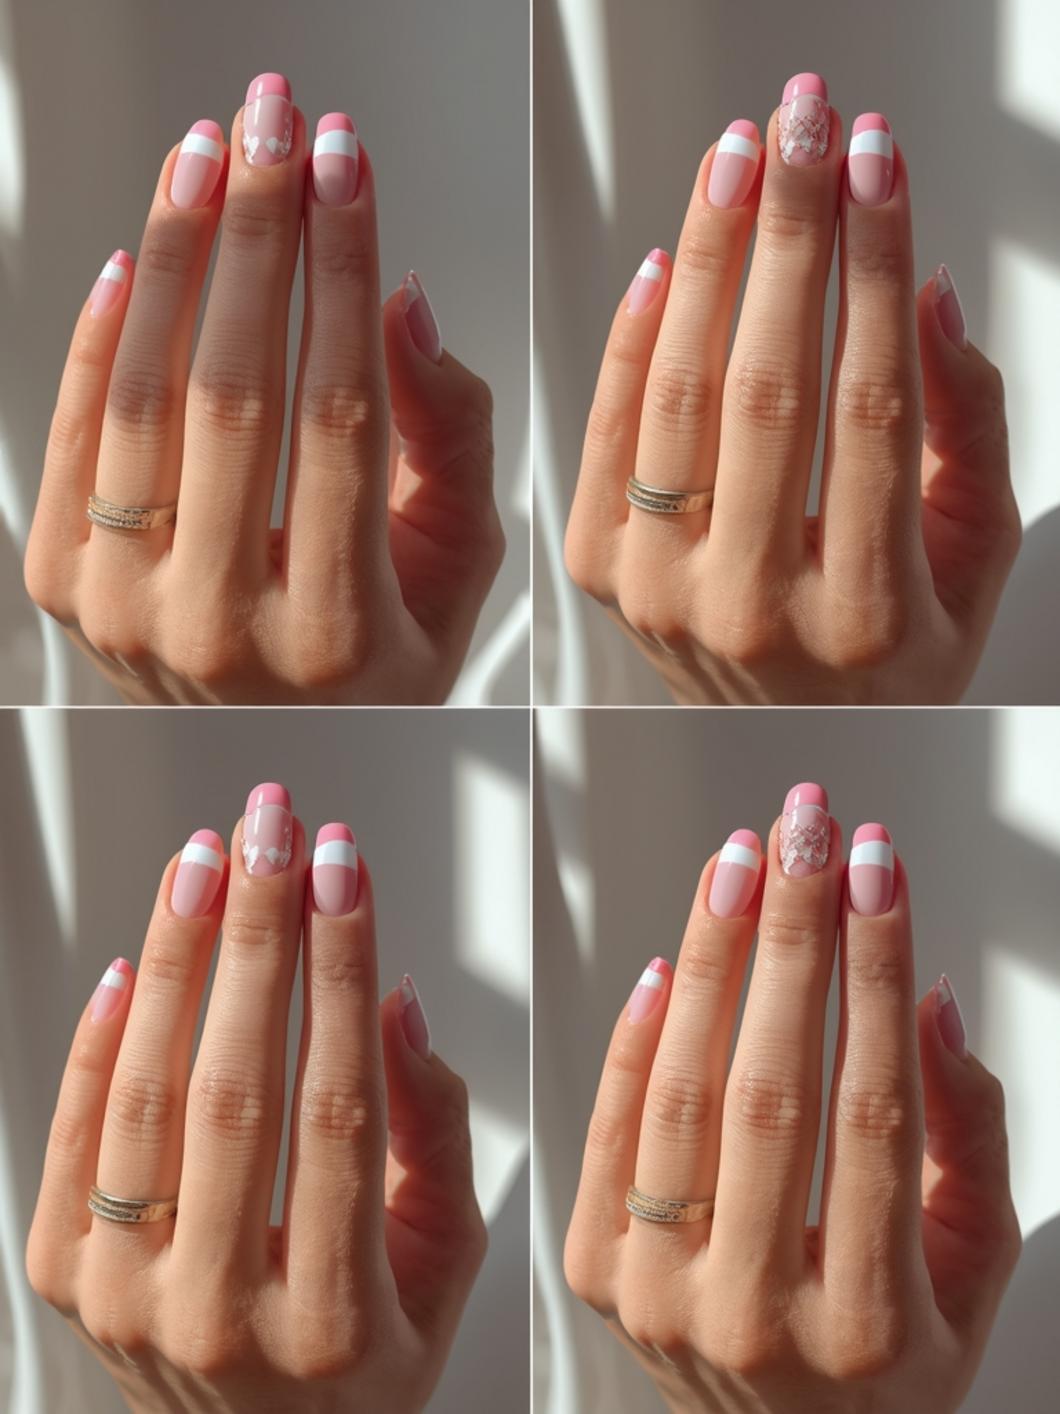
The wide tip of duck nails offers a fantastic playground for artistic expression. Here are five design concepts that are trending in 2026:
- Glitter Gradient: Start with a sheer base at the cuticle, gradually building up dense glitter toward the flared tip for a sparkling “firework” effect.
- Negative‑Space Triangles: Use striping tape to create sharp triangular cutouts along the sides, filling the space with a bold matte color.
- Floral Stamping: Choose a delicate rose or daisy plate and stamp pastel hues across the nail, letting the flare showcase the full bloom.
- Metallic Foil Accents: Apply a thin layer of foil in gold or silver along the outer edges of the flare, creating a luxe, metallic frame.
- 3‑D Gem Clusters: Place small rhinestones or pearls near the tip, arranging them in a fan shape that follows the natural curve of the duck tip.
Experiment with combinations—such as a glitter base paired with foil accents—to keep your look fresh throughout the week.
Common Mistakes to Avoid
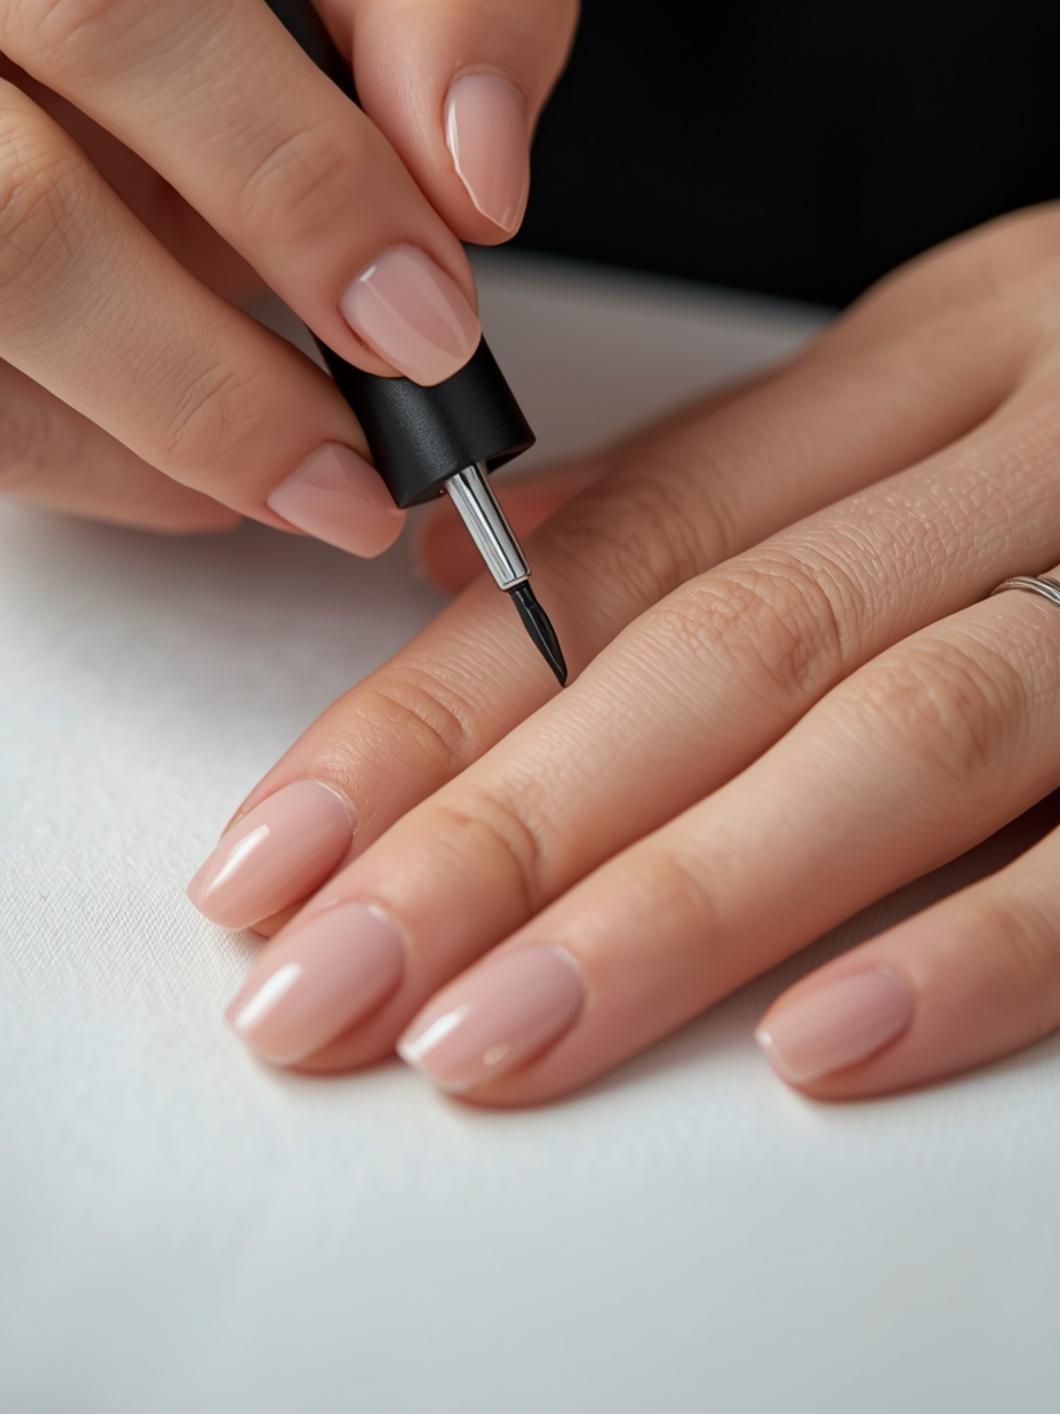
Even experienced nail enthusiasts can slip up when attempting the duck shape. Steer clear of these pitfalls:
- Over‑filing the sides: Filing too aggressively can weaken the nail plate, leading to splits. File gradually and check progress frequently.
- Skipping the base coat: A strong base coat protects against staining and adds durability, especially when using gel or acrylic.
- Ignoring cuticle care: Dry, ragged cuticles hinder growth and can cause infections. Keep them moisturized daily.
- Using harsh chemicals: Acetone‑heavy removers can dry out nails. Opt for gentler, acetone‑free formulas when possible.
- Neglecting the seal: Forgetting a top coat leaves designs vulnerable to chipping and reduces shine.
By avoiding these errors, you’ll maintain the integrity of your duck nails and enjoy longer‑lasting results.
Maintenance Tips
To keep your duck nails looking flawless beyond the initial week, incorporate these habits:
- Apply cuticle oil every night before bed.
- Reapply top coat every two to three days to prolong shine and prevent chipping.
- Wear gloves when cleaning or doing dishes to protect against water and detergents.
- Schedule a light file‑and‑shape session once a week to preserve the flare.
- If you notice any lifting, gently buff the area and reapply a thin layer of base coat before sealing with top coat.
Consistent care will ensure your nails stay strong, healthy, and ready for the next design adventure.
Looking for more inspiration? Don’t miss our guide to Abstract Art Nail Guide.
Nail Trends, Colors & Style Variations
While the classic duck nail shines in neutral nudes and bold reds, 2026 brings exciting variations:
- Pastel Mirage: Soft lavender, mint, and peach shades create a dreamy, ethereal vibe perfect for spring.
- Neon Flash: Electric blue, hot pink, and lime green deliver high‑impact energy for festivals and night outs.
- Metallic Mirage: Chromatic powders that shift from purple to green give a futuristic edge.
- French Twist: A traditional white tip reimagined with a thin glitter line or a micro‑foil accent along the flare.
- Seasonal Themes: Incorporate holiday‑specific motifs—snowflakes for winter, leaves for autumn—using stamping or hand‑painting techniques.
Mixing and matching these trends with the duck silhouette lets you express your personality while staying on the cutting edge of nail fashion.
Conclusion
Achieving stunning duck nails in just seven days is entirely possible with the right preparation, tools, and daily routine. By following the step‑by‑step guide, avoiding common mistakes, and embracing creative duck nail designs, you’ll enjoy a bold, eye‑catching look that’s both fashionable and durable. Remember to nurture your nails with proper hydration and regular maintenance, and you’ll be ready to flaunt your duck‑tip masterpieces wherever you go.
FAQs
Q1: Can I achieve duck nails on short natural nails?
A: Yes. Start by filing the sides outward to create a subtle flare, then use a builder gel or acrylic to add length if desired. Consistent filing and care will enhance the shape over time.
Q2: How often should I moisturize my cuticles?
A: Apply cuticle oil at least twice daily—morning and night—and use a richer cream after water exposure to keep the skin supple.
Q3: Are duck nails prone to breaking?
A: The flared tip actually distributes stress more evenly, reducing breakage when the nails are properly shaped and strengthened with a quality base coat.
Q4: What’s the fastest way to add length for the duck shape?
A: Using nail forms or tips with a pre‑shaped duck outline allows you to add instant length. Secure with glue, file to blend, and then proceed with your design.
Q5: Can I switch back to a regular shape after wearing duck nails?
A: Absolutely. Simply file the sides inward to achieve your preferred shape, apply a strengthening base coat, and give your nails a short recovery period before the next manicure.
Related Articles
nnnn- Types of Nail Shapes: Definitive Guide 2026 n
- 7 Stylish Artificial Nail Shapes: Designs & Ideas n
- Nail Shapes Chart: Find the Best Shape for Your Hands
Share this article