7 Stylish Artificial Nail Shapes: Designs & Ideas
If you’re searching for the perfect way to elevate your look, mastering artificial nail shapes is the proven path to salon‑worthy style at home. With the right techniques, you can experiment with everything from classic oval to daring stiletto, all while keeping your natural nails healthy. This guide breaks down the seven most popular artificial nail shapes, showing you how to choose, apply, and maintain each style for lasting beauty. Whether you’re a beginner or a seasoned nail enthusiast, you’ll find practical tips, product recommendations, and step‑by‑step instructions that make the process simple and enjoyable. Get ready to transform your fingertips into a canvas of confidence and creativity.
Table of Contents
What Are Artificial Nail Shapes?
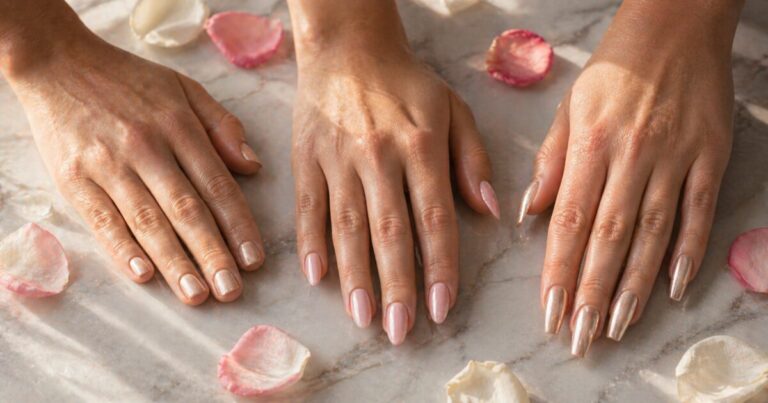
Artificial nail shapes refer to the various silhouettes you can create with acrylics, gels, or press‑ons that extend beyond the natural nail bed. Understanding the basics helps you pick a shape that complements your finger length, lifestyle, and personal style. The most common silhouettes include oval, almond, square, coffin, stiletto, round, and squoval. Each shape offers a distinct vibe — oval for timeless elegance, almond for a feminine touch, square for a bold statement, coffin for edgy flair, stiletto for high‑fashion drama, round for low‑maintenance charm, and squoval for a balanced blend of soft and strong.
When you first explore artificial nail shapes, consider how much length you can comfortably maintain. Longer styles like stiletto and coffin require more upkeep, while shorter options such as round and oval are ideal for active lifestyles. Knowing the characteristics of each silhouette empowers you to make informed choices that enhance both appearance and nail health.
Why Artificial Shapes Dominate 2026 Salons
In 2026, nail art has moved beyond simple polish to become a full‑blown fashion accessory. Social media platforms showcase influencers flaunting intricate designs on extended nails, driving demand for versatile bases that can hold detailed artwork. The rise of press‑on kits and improved gel formulations means achieving salon‑quality artificial nail shapes at home is faster and more affordable than ever.
Another factor fueling popularity is the emphasis on self‑expression. People are using nail shapes to convey mood, match seasonal wardrobes, or celebrate special events. For instance, a tapered almond shape pairs beautifully with pastel spring hues, while a sharp stiletto commands attention with metallics or dark shades during winter months. The ability to switch shapes without committing to permanent changes makes this trend attractive to a wide audience.
What a Technician Uses to Build Each Shape
Before you start shaping, gather the essential tools and products that ensure a smooth application and durable finish. Below is a checklist categorized by preparation, application, and finishing.
- Preparation: Nail file (180/240 grit), buffer, cuticle pusher, cuticle oil, dehydrator, and primer.
- Application: Acrylic powder and liquid, or gel builder and base/top coats, nail forms or tips, UV/LED lamp (if using gel), and a quality brush set.
- Finishing: Fine grit file for shaping, nail cleanser, cuticle oil, and a top coat with UV protection.
Investing in a good quality nail drill can speed up shaping, especially for thicker acrylics, but a manual file works perfectly for beginners. Always opt for non‑toxic, low‑odor formulas to protect your natural nails and surrounding skin.
How an Artificial Shape Is Built
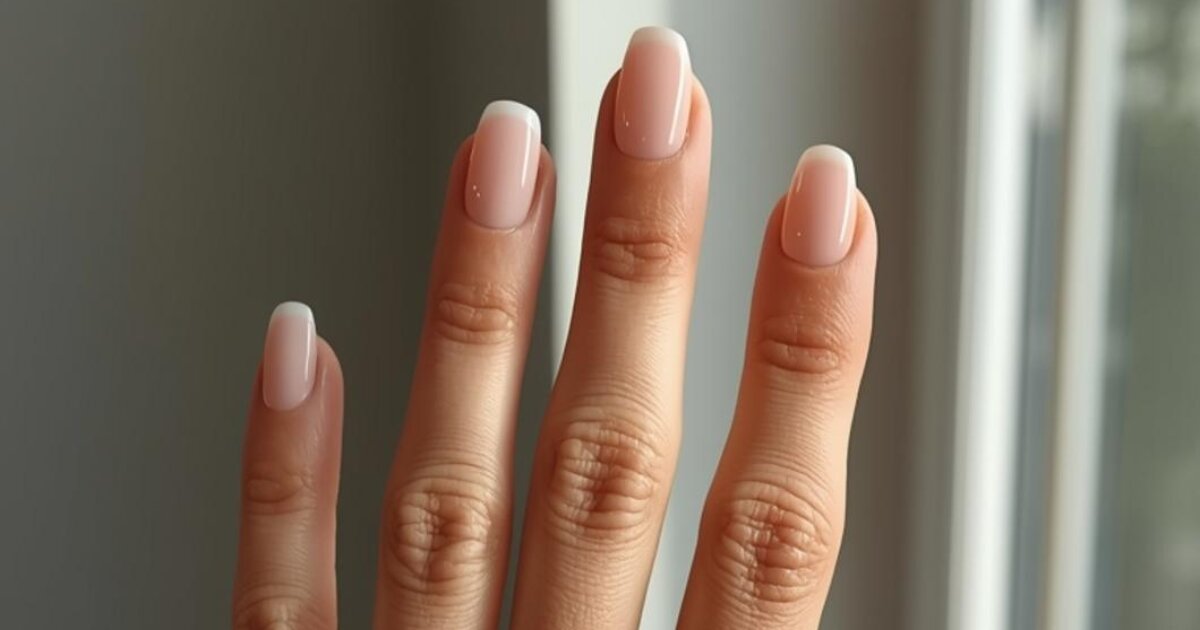
- Prep the Nail Bed: Remove any old polish, push back cuticles, and lightly buff the surface. Apply dehydrator and primer to ensure adhesion.
- Select Your Form or Tip: Choose a nail form that matches the desired length and shape, or press on a tip if you prefer a quicker route.
- Apply the Base Layer: For acrylics, mix a small bead of powder and liquid, then place it onto the form/tip. For gel, apply a thin layer of builder gel and cure under the lamp for 30‑60 seconds.
- Build the Shape: Continue adding material, sculpting the silhouette as you go. Use a file to refine the sides and tip while the product is still pliable.
- Cure and Set: If using gel, cure each layer according to the manufacturer’s instructions. For acrylics, allow the material to air‑harden completely (usually 2‑3 minutes).
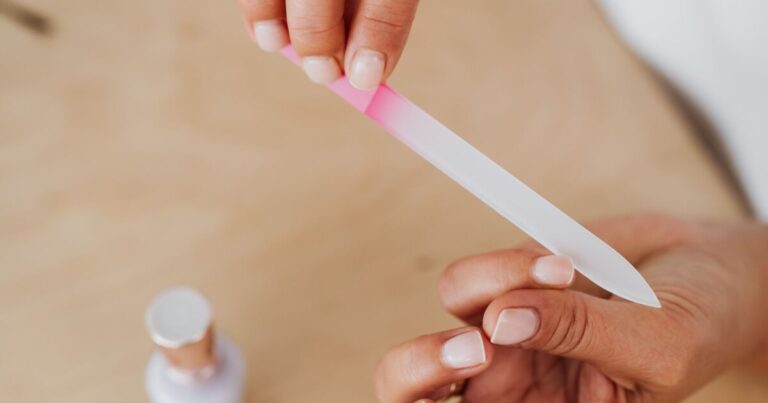
- File and Shape: Switch to a finer grit file to achieve the final contour — oval, almond, square, etc. Keep the file at a consistent angle to avoid uneven thickness.
- Buff and Clean: Buff the surface lightly to remove scratches, then wipe away dust with a lint‑free pad soaked in cleanser.
- Apply Color and Top Coat: Paint your chosen polish or gel color, cure if needed, and seal with a glossy top coat. Finish with cuticle oil for hydration.
Following these steps will give you a professional‑looking result that lasts two to three weeks, depending on growth and lifestyle.
Designs That Work on Each Artificial Shape
A Shape-by-Shape Design Gallery
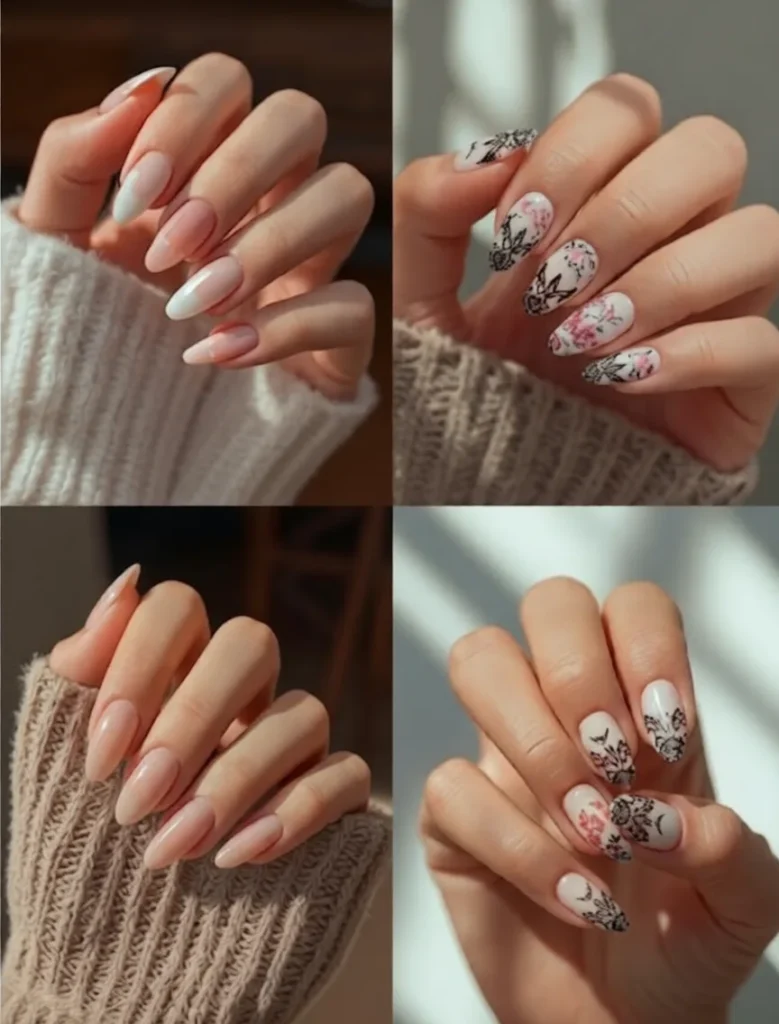
Once your base shape is ready, the fun begins with color and decoration. Here are seven design concepts that pair perfectly with each silhouette:
- Oval: Soft gradient ombré from nude to blush pink, finished with a thin gold line at the tip.
- Almond: Deep burgundy base with delicate lace stamping near the cuticle.
- Square: Matte black with geometric silver foil accents across the nail.
- Coffin: Glitter gradient from silver at the cuticle to holographic purple at the tip.
- Stiletto: Classic red with a thin black chevron pattern near the free edge.
- Round: Pastel mint green with tiny white pearl dots scattered across.
- Squoval: Navy blue base with a single white stripe down the center, topped with a matte finish.
Feel free to mix textures — matte, glossy, glitter, and metallic — to create multidimensional looks that showcase the unique lines of your chosen artificial nail shapes.
The Mistakes That Cause Lifting and Breaks
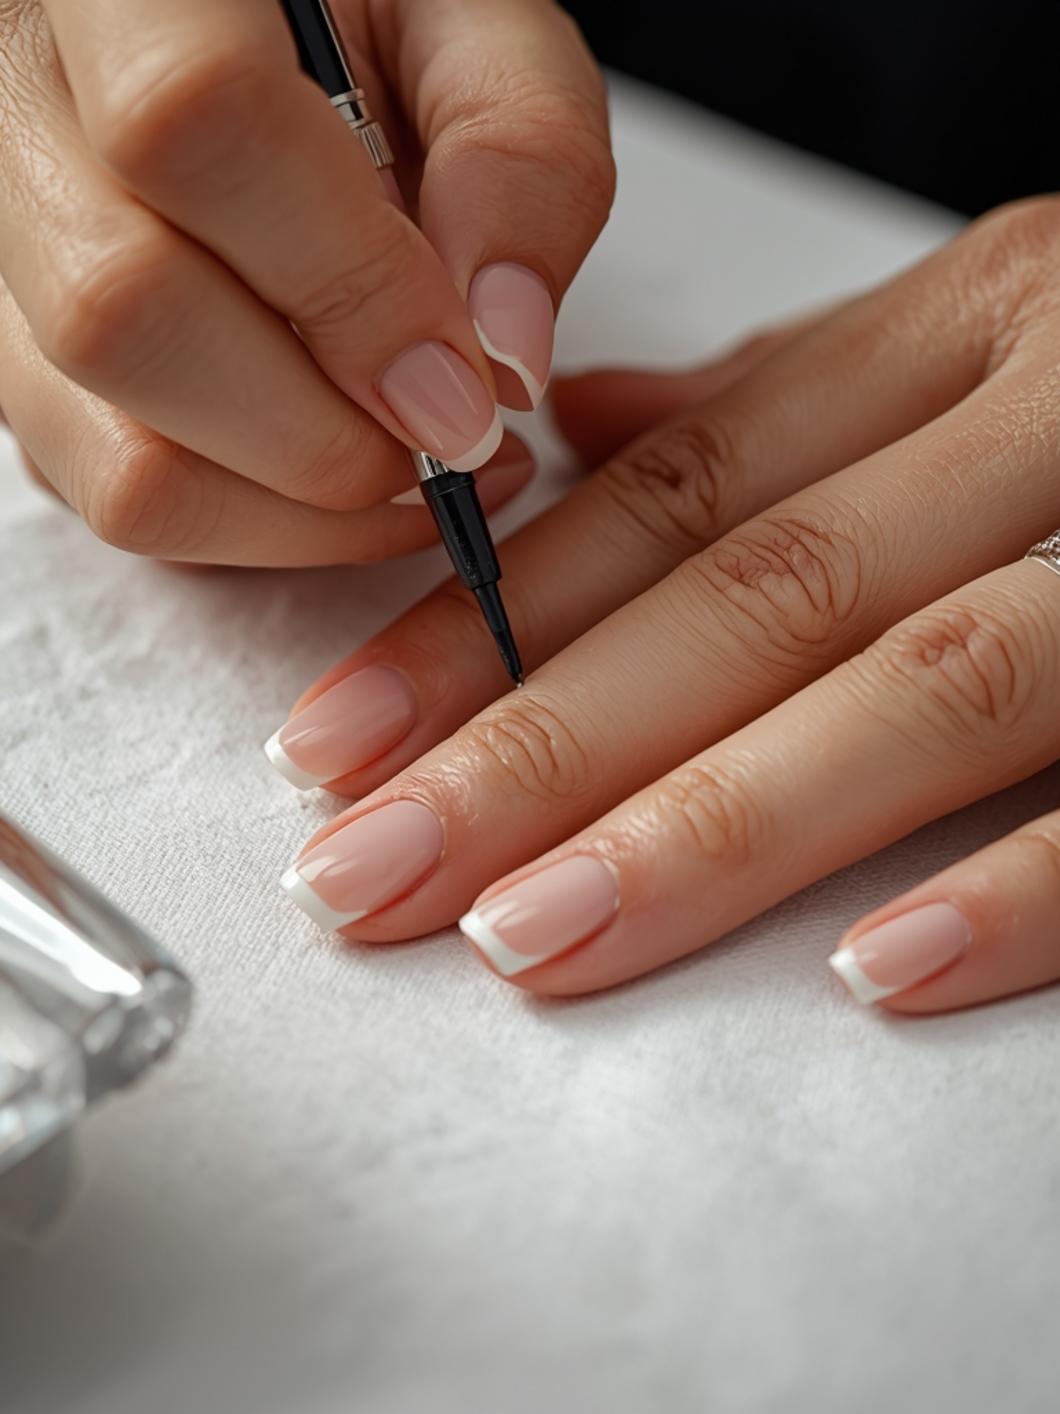
Even experienced nail artists can slip up. Below are frequent pitfalls and how to steer clear of them:
- Skipping Dehydration: Omitting the dehydrator step leads to lifting and premature chipping.
- Over‑Filing the Natural Nail: Excessive filing weakens the nail plate, making it prone to breakage.
- Using Too Much Product: Thick layers cause uneven curing and create a bulky feel.
- Incorrect Form Placement: Misaligned tips result in lopsided shapes that are hard to correct later.
- Neglecting Edge Sealing: Forgetting to cap the free edge with top coat allows water to seep in, causing lifting.
- Rushing the Cure Time: Removing nails before the gel is fully cured leaves a tacky surface.
- Ignoring Aftercare: Skipping cuticle oil and moisturizer leads to dry, brittle nails.
By avoiding these mistakes, you’ll enjoy longer wear, healthier nails, and a flawless finish every time.
Fill Schedules and Home Care
Maintaining your artificial nail shapes is essential for both aesthetics and nail health. Follow these simple habits to extend the life of your set:
- Schedule a fill or refresh every 2‑3 weeks, depending on growth.
- Use gloves when cleaning or doing dishes to prevent water exposure.
- Apply cuticle oil nightly to keep the nail bed supple.
- Avoid using your nails as tools — open cans, scrape labels, or pry objects with your fingertips.
- If you notice any lifting, gently file the edge and re‑apply a thin layer of gel or acrylic before it worsens.
- When removing, soak in acetone‑based remover for the recommended time; never force or peel off the product.
Consistent care not only keeps your nails looking fresh but also protects your natural nails from damage.
Colors and Finishes Suited to Artificial Nails
Seasonal shifts bring fresh palettes and innovative techniques that complement various artificial nail shapes. In spring 2026, expect pastel neon blends, floral micro‑painting, and negative space designs. Summer leans toward bright citrus shades, tropical motifs, and glossy finishes. Autumn introduces earthy terracotta, muted olive, and subtle glitter gradients. Winter embraces jewel tones, metallic foils, and intricate snowflake stamping.
Beyond color, texture trends are making waves. Velvet top coats, chrome powders, and caviar beads add dimension without overwhelming the nail shape. For those who love a minimalist vibe, a single thin line or a tiny gemstone placed at the cuticle offers understated elegance.
To stay updated, follow nail artists on platforms like Instagram and TikTok, and explore the latest collections from trusted brands. Experimenting with trends helps you discover which artificial nail shapes best showcase your personality and lifestyle.
Conclusion: Mastering Artificial Nail Shapes
We’ve explored the proven way to grow seven stylish artificial nail shapes, from understanding each silhouette to executing flawless applications and maintaining long‑lasting wear. By investing in the right tools, following a clear step‑by‑step routine, and staying inspired by seasonal trends, you can enjoy salon‑worthy nails without leaving home.
Remember that healthy nail habits — proper preparation, regular fills, and diligent aftercare — are the foundation of any beautiful set. Whether you prefer the classic elegance of an oval or the daring drama of a stiletto, mastering artificial nail shapes empowers you to express confidence with every gesture.
Start experimenting today, and watch your fingertips become a true reflection of your style.
Artificial Nail Shapes: Common Questions
- How long do artificial nail shapes typically last?
- With proper application and care, most sets last 2‑3 weeks before needing a fill or refresh.
Can I switch between different shapes without damaging my natural nails?Yes, as long as you follow correct removal techniques and give your nails a short break between sets, you can change shapes safely.
What is the easiest shape for beginners?Oval and round are the most forgiving for beginners because they require less precise filing and are less prone to snapping.
Are press‑on nails a good alternative to acrylics or gels?Press‑on kits have improved dramatically and offer a quick, low‑commitment way to try various artificial nail shapes without chemicals or curing lights.
How often should I moisturize my cuticles?Apply cuticle oil at least twice daily — morning and night — to keep the nail bed hydrated and prevent cracking.
Where can I find quality supplies for shaping nails at home?You can browse trusted retailers online; for a curated selection, check out this helpful guide on types of artificial nail shapes.
Related Articles
- Types of Nail Shapes: Definitive Guide 2026
- Duck Nails: How the Flared Shape Works and Who It Suits
- Manicure Nail Shapes: 5 Best Designs & Style Tips
Explore More Nail Shape Guides
- Duck Nails: How the Flared Shape Works and Who It Suits
- Types of Nail Shapes: Definitive Guide 2026
- Nail Shapes Chart: Find the Best Shape for Your Hands in 2026
- Nail Length Guide: What's Best for Your Hands in 2026
Share this article