How to Remove Acrylic Nails at Home: Complete Guide
Getting your acrylics off shouldn’t mean another salon trip, another $20, and another hour in someone else’s chair. It also shouldn’t mean prying at the edge with a butter knife while your roommate winces from across the room. There is a right way to do this at home, and a wrong way that leaves your natural nails thin, peeling, and sore for weeks.
At Nailbold we get asked about safe acrylic removal almost as often as we get asked about shapes and colors. This guide walks through the real acetone-soak method step by step, a no-acetone alternative for when you’re out of remover, the mistakes that cause the most damage, and what to do for your nails once the acrylic nails are off.
Key Takeaways
- Removal is a chemistry job, not a strength job. If it needs force, it needs more soak time.
- Pure acetone at 20 to 30 minutes is the reliable method. Warm soapy water works without acetone but takes roughly twice as long.
- Acrylic, dip and hard gel do not soak off at the same speed, and soft gel is a different job entirely.
- Doing it yourself saves about $20 to $35 per removal versus a salon.
- Nails look thin afterwards because they are dehydrated, not because acetone thinned them. Normal thickness returns in one to two weeks.
- Green or grey staining under a lifted acrylic means stop, and never seal a new set over it.
Table of Contents
What to Know Before You Start
Acrylic is bonded to your natural nail with a strong adhesive, so removal is a chemistry process, not a peeling process. The goal is to dissolve the bond, not to rip it off. Rushing this step is the single biggest cause of at-home nail damage.
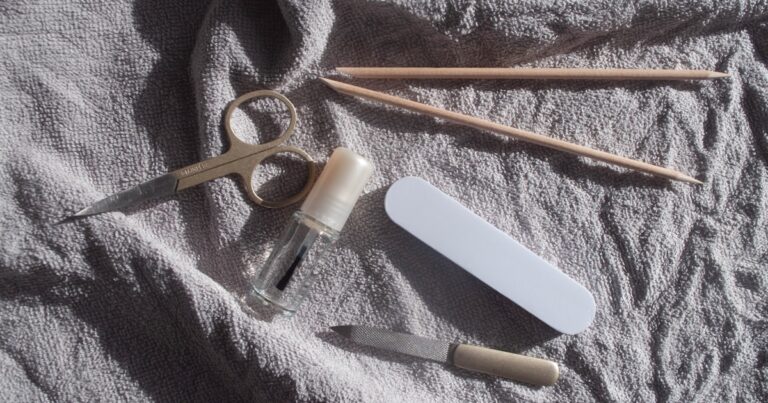
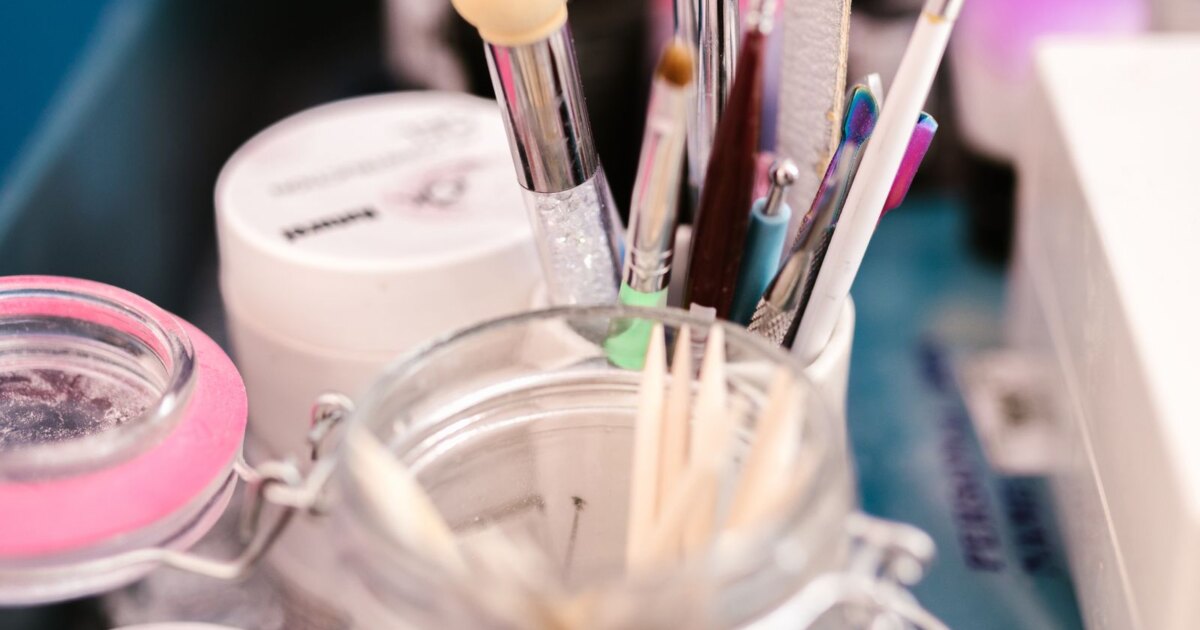
Set aside 30 to 60 minutes, work somewhere with good ventilation, and gather your supplies before you start: 100% pure acetone (not scented nail polish remover), a small glass or ceramic bowl, foil or clip-on soaking clips, a wooden cuticle stick, a coarse nail file, cotton balls, and cuticle oil for afterward.
Acrylic, Dip and Gel Do Not Come Off at the Same Speed
Most removal guides treat every enhancement as one product. They are not. What is sitting on your nail decides how long you soak, and guessing wrong is why people give up halfway and start picking.
| Product | Acetone soak | How it behaves |
|---|---|---|
| Acrylic | 20–30 min | Turns chalky white and lifts in flakes |
| Dip powder | 15–25 min | Softens fastest of the three, goes gummy |
| Hard gel | Does not soak off | Must be filed down by a technician |
| Soft gel polish | 10–15 min | Wrinkles and slides off in sheets |
The one to watch is hard gel. It is a cured plastic that acetone barely touches, so if you have soaked for 40 minutes with no change at all, you probably have hard gel rather than acrylic. Soaking longer will not help. Book a file-down instead.
Not sure which you have? Acrylic nails have a faint sweet chemical smell when filed and sounds hard when tapped against a tooth. Dip feels slightly thicker and more matte at the edge. If a salon used a lamp to cure each layer, it was gel.
How to Remove Acrylic Nails at Home With Acetone
This is the method nail techs actually use, just without the UV lamp and salon chair. Ipsy’s beauty team and L’Oréal Paris both walk through versions of this soak-based approach, and it’s the one dermatologists and nail techs recommend over any “hack.”
- Trim and file. Clip the acrylic nails down as short as is comfortable, then use a coarse file to buff away the top layer of polish and shine. This lets the acetone reach the acrylic faster instead of sitting on a sealed, glossy surface.
- Protect your skin. Massage cuticle oil or petroleum jelly into the skin around each nail. Acetone is drying, and this one step is what keeps your cuticles from feeling raw afterward.
- Soak. Pour pure acetone into a glass bowl, set the bowl inside a second bowl of warm (not hot) water to gently warm it, and submerge your fingertips for 20 to 30 minutes. Foil wraps with acetone-soaked cotton work too if you want to move around while you wait.
- Check every 5 to 10 minutes. The acrylic nails will start to bubble, lift, and turn opaque white at the edges. That’s your sign it’s working, not a sign something is wrong.
- Scrape gently. Use a wooden cuticle stick, never metal, to nudge off the softened acrylic nails. If it doesn’t lift with light pressure, it needs more soak time. Stop and re-soak rather than forcing it.
- Buff and moisturize. Once it’s fully off, lightly buff any ridges, then load your cuticles and nail plate with oil. Your nails will look thin and dull right after removal; that’s completely normal.
Pure acetone is flammable, so keep the bowl away from any open flame and never microwave it to warm it up. A bowl-in-a-bowl of warm water is the only safe way to speed up the soak.
How to Remove Acrylic Nails at Home Without Acetone
No acetone in the house? A warm water soak is the safest fallback, though it takes patience. According to Booksy’s nail care guide, soaking in warm water with a few drops of dish soap for 20 to 40 minutes softens the bond enough to work the edges loose.
- Warm soap soak: Fill a bowl with warm water and a squeeze of dish soap, and soak your fingertips for 20 to 40 minutes, topping up the warmth as it cools.
- Work the edges: Use a wooden cuticle stick to gently lift from the sides, where the bond is weakest, working toward the center.
- Floss carefully, if needed: Once the edges are loosened, some people slide a piece of dental floss under the lifted acrylic nails and rock it gently side to side. Only try this after soaking softens the bond, never on a fully-adhered acrylic.
This method is slower and less reliable than an acetone soak, and it carries a higher risk of lifting a layer of natural nail if you rush it. Save it for emergencies, not as your regular routine.
What NOT to Do: Common Mistakes That Damage Your Natural Nails
Nearly every horror story about “ruined nails” traces back to one of these shortcuts. Skipping them is the real difference between healthy nails and thin, peeling ones.
- Picking or peeling. This is the number one cause of damage. Pulling acrylic nails off pulls layers of your natural nail plate with it, since they’re bonded together.
- Prying with a metal tool, bank card, or key. These can gouge or crack the nail bed underneath, which is thin and easily injured.
- Filing through unsoftened acrylic nails. Aggressive filing before the bond is dissolved thins the natural nail along with the product.
- Using scented or diluted remover. Only 100% pure acetone actually breaks down acrylic nails efficiently; weaker formulas just waste your time and irritate your skin.
When You Should Not Do This at Home
Almost anyone can soak off their own acrylic nails. A few situations are the exception, and they are worth knowing before you open the acetone.
- Green, grey or black staining under a lifted nail. That discolouration is usually a bacterial growth that took hold in trapped moisture. Take the product off, leave the nail bare and dry, and see a professional. Never seal a fresh set over a stain.
- Throbbing, swelling, warmth or any discharge. These point to an infection around the nail fold, and that needs a doctor rather than a soak.
- The nail plate lifting away from the bed. Once a nail separates, acetone reaches skin that should never touch it.
- Diabetes, poor circulation, or a suppressed immune system. Slower healing and reduced sensation in the fingertips make a small nick a bigger problem. Have a technician handle removal.
- A set that is more than four weeks grown out. The gap under the free edge traps water, which is exactly how the staining above starts.
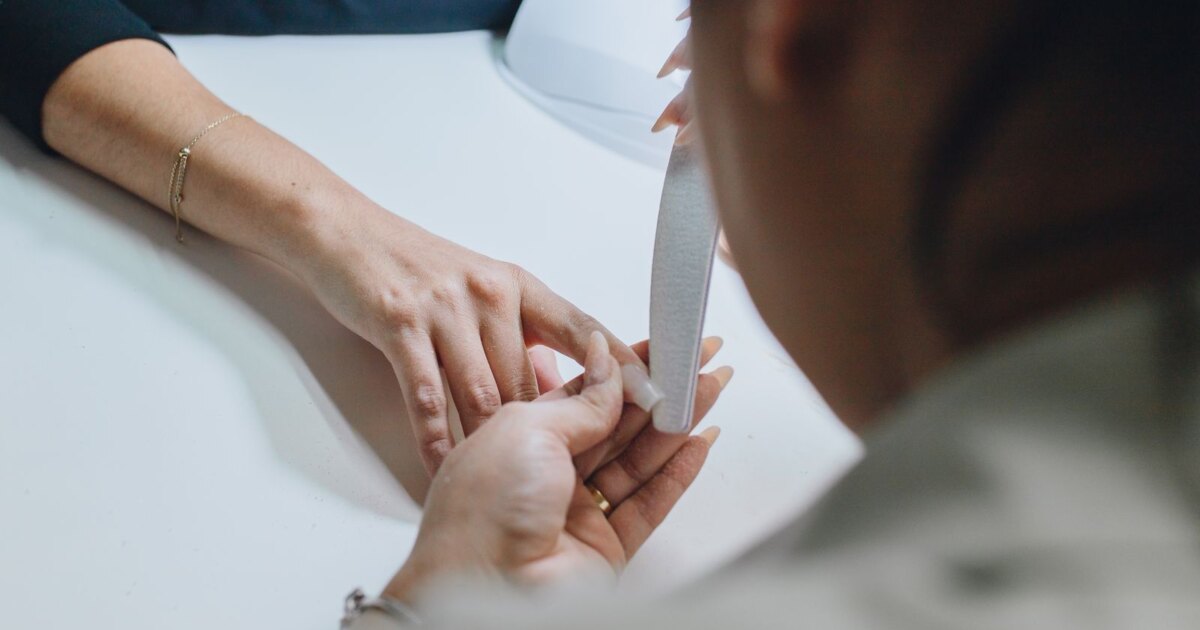
Aftercare: How to Heal Your Nails After Removal
Freshly bare nails after weeks or months in acrylic nails are naturally thinner and more flexible than usual. That’s expected, not damage, and it resolves as new nail grows in.
- Apply cuticle oil at least twice a day for the first week.
- Keep nails trimmed short while they recover, since short nails flex less and break less.
- Skip another set of extensions for at least one to two weeks to let the nail plate rehydrate.
- Use a strengthening base coat if you’re wearing polish during the recovery period.
- Wear gloves for dishes and cleaning, since hot water and detergent slow the recovery down.
Want your bare nails to look polished while they recover? Our best nail polish colors guide is a gentle way to add color without the shine that draws attention to ridges.
Your Nail Recovery Timeline, Week by Week
Bare nails after months of acrylic nails look alarming for about three days. Knowing what is normal stops people from panicking and reaching for a strengthener they do not need.
| When | What you will notice | What to do |
|---|---|---|
| Days 1–3 | Thin, bendy, sensitive to hot and cold water | Cuticle oil twice a day, keep them short |
| Days 4–7 | Flexibility drops as water content rebalances | Gloves for washing up and cleaning |
| Week 2 | Close to normal thickness again | Safe window for a new set if you want one |
| Weeks 3–8 | Any filing marks travel toward the free edge | Buff lightly at most, never flat across |
| Months 4–6 | A completely new nail plate has grown in | Nothing — this is the full reset |
Fingernails grow roughly three millimetres a month, so that last row is simple arithmetic rather than a guess. If a nail still looks damaged after a full growth cycle, the cause is ongoing rather than the removal you did months ago.
How Long Does At-Home Acrylic Removal Take?
Budget 30 to 60 minutes total for the acetone method, most of it spent soaking rather than actively working on your nails. The no-acetone warm water method takes longer, often 45 minutes to over an hour, because the bond softens more slowly without a solvent.
Thicker acrylic nails, older sets, and nails with extra layers of gel top coat all take longer to soften. If you’re still meeting resistance after 30 minutes of soaking, keep soaking rather than switching to force.
What At-Home Removal Actually Saves You
The money argument is stronger than most people expect, because one bottle of acetone covers many removals.
| Option | Typical 2026 cost | Notes |
|---|---|---|
| Salon, removal only | $15–$30 | Often the priciest option per visit |
| Salon, removal with a new set | $0–$10 | Usually folded into the new set price |
| Home kit, first purchase | $8–$15 | Acetone, foil, wooden sticks, coarse file |
| Home, per removal after that | $1–$2 | One bottle covers six to ten removals |
If you are booking a new set anyway, letting the salon remove the old one costs you almost nothing. Doing it yourself pays off when you are taking a break from enhancements, which is also when your nails most need the recovery time.
Frequently Asked Questions About Removing Acrylic Nails at Home
Can I remove acrylic nails without any tools?
Not entirely. Even the gentlest methods need a wooden cuticle stick to lift softened acrylic nails, since fingernails alone aren’t strong enough and using your teeth risks chipping a natural nail.
Is it bad to remove acrylic nails at home?
Not if you soak properly and never force the acrylic nails off. The damage people associate with at-home removal almost always comes from skipping the soak and picking or prying instead.
Why do my nails look thin after removing acrylic nails?
Your natural nail has been protected under the acrylic for weeks, so it’s softer and thinner by comparison. Regular cuticle oil and a short trim while it hardens back up will fix this within one to two weeks.
Can I put a new set of acrylics on right after removal?
It’s better to wait one to two weeks. Reapplying immediately traps a nail that hasn’t rehydrated yet under another layer of product, which slows recovery and increases breakage risk.
What household product removes acrylic nails fastest besides acetone?
Nothing works as fast as pure acetone. Warm water with dish soap is the next best option, but expect it to take close to double the time of an acetone soak.
Does acetone damage your natural nails?
Acetone dries the nail plate, it does not thin it. The temporary bendiness afterwards is lost water, which returns within a week. Actual thinning comes from filing too aggressively or prying product off, not from the solvent itself.
Can rubbing alcohol remove acrylic nails?
No. Rubbing alcohol is not a strong enough solvent to break the acrylic bond. It may soften the very top layer slightly, which tempts people into picking, and that is where the damage happens. Use pure acetone or warm soapy water instead.
How do you know when the acrylic nails have soaked long enough?
The surface turns chalky white and the edges lift when you touch them with a wooden stick. If the product still feels hard and glassy, or resists light pressure, it needs another five to ten minutes in the acetone.
Removing acrylic nails at home comes down to one rule: dissolve, don’t force. Soak long enough, work gently with a wooden stick, and give your natural nails a week or two of cuticle oil before your next set. Your future manicure will thank you.
Related Articles
- Coffin French Tip Acrylic Nails: 5 Best Styles & Designs
- Short Acrylic Nails: 50+ Best Ideas & Inspo 2026
- Short Acrylic Nail Ideas That Last Longer
Share this article