The Complete Guide to Nail Art Instruments: Every Tool Explained for Beginners and Pros
The nail art tools market tells a clear story. Business Research Insights projects the global nail art instruments market will grow from USD 0.36 billion in 2026 to USD 0.82 billion by 2035, at a CAGR of 9.5%. More people are doing their nails at home, and the tool selection has never been bigger. That’s exciting, but it’s also overwhelming when you’re standing in front of a wall of brushes, dotting tools, and stamping plates wondering where to start.
This guide covers every nail art instruments category from prep to finishing. You’ll get plain descriptions, price ranges, and honest advice on what to buy first and what to skip until you’re ready. Whether you’re painting your first dotted accent nail or building a full professional kit, you’ll leave with a clear picture of exactly what each tool does.
Key Takeaways
- The global nail art tools market is projected to reach USD 0.82 billion by 2035, growing at 9.5% CAGR (Business Research Insights, 2026).
- Nail art instruments fall into five main categories: prep tools, brushes, stamping tools, dotting and line tools, and embellishment tools.
- Beginners can build a functional starter kit for under $30. A professional-grade set typically runs $80 and above.
- Synthetic bristles work better with gel and acrylic products. Natural bristles suit regular polish and detailed freehand work.
- Proper tool cleaning after every use is the single biggest factor in how long your instruments last.
Table of Contents
What Are Nail Art Instruments?
Nail art instruments are the full collection of tools used to prepare, decorate, and finish nails. The global nail care products market was estimated at USD 23.6 billion in 2024 and is projected to reach USD 38.9 billion by 2034 at a CAGR of 5.2% (GM Insights, 2025). That growth reflects how broadly nail tools are now used, well beyond professional salons.
These nail art instruments cover five distinct categories. Prep tools shape and prime the nail surface. Brushes apply paint and create freehand designs. Stamping and transfer tools copy pre-made patterns onto nails. Dotting and line tools add geometric and textured detail. Embellishment tools place gems, foils, and decorative finishes. Each category has its own learning curve, and most designs draw from two or three categories at once.
Category 1: Nail Prep Tools
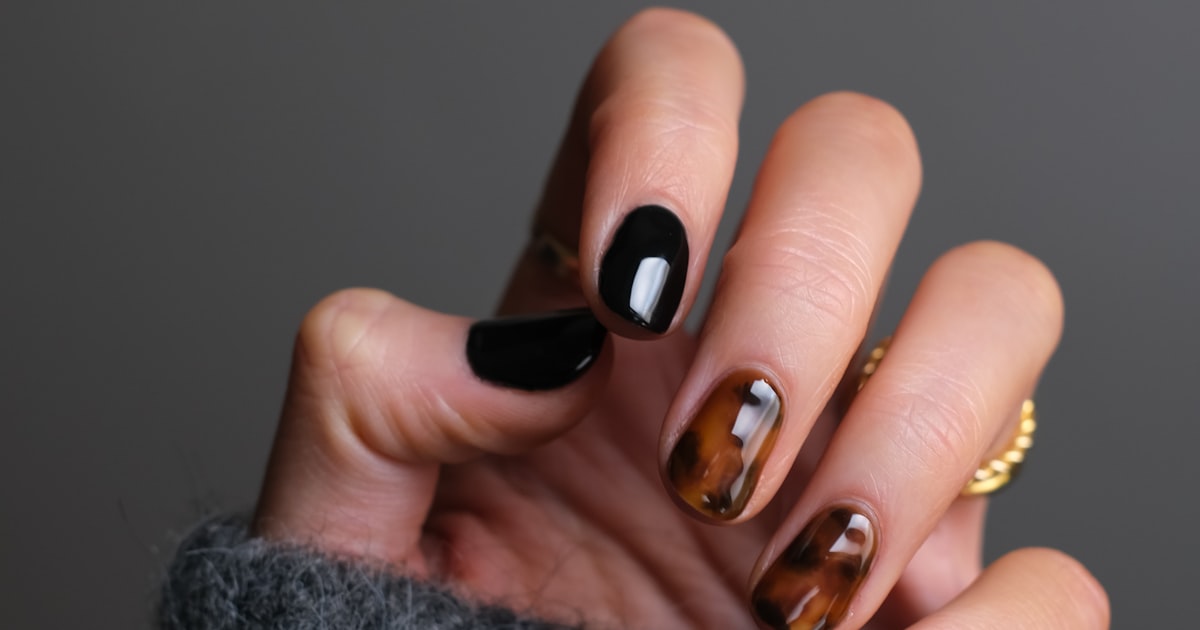
70% of nail art instruments brands launched new collections featuring advanced ergonomic designs in the past year (Business Research Insights, 2026). Prep tools led that trend. Better grip handles and thinner profiles make filing and cuticle work more comfortable and precise. Prep tools are the category most beginners underinvest in, and it shows in their finished results.
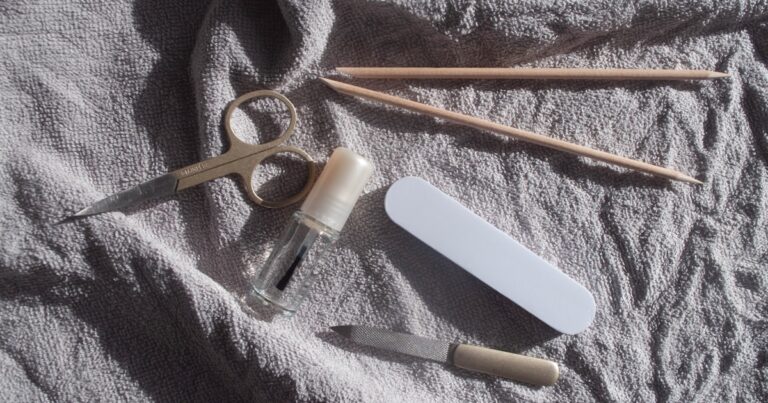
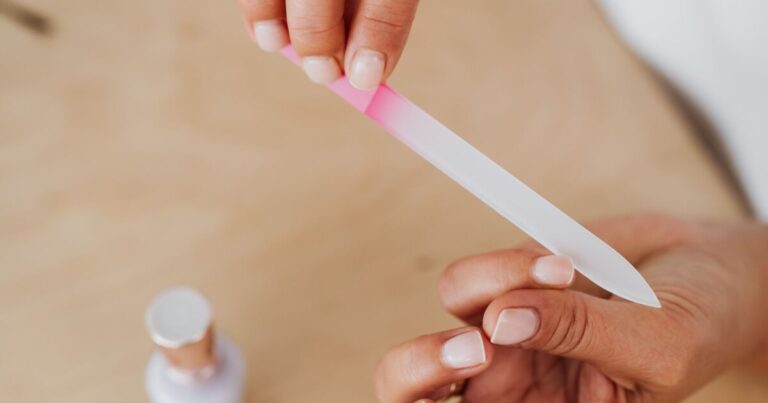
Nail Files and Emery Boards
Nail files shape the free edge of the nail and smooth rough tips. Grit matters here. A 100-grit file removes length quickly and suits acrylic or thick gel nails. A 180-grit file works on natural nails without tearing the layers apart. Glass files seal the nail edge as they file, which reduces peeling significantly. Price range: $3–$12.
Buffer Blocks
A buffer block smooths ridge lines on the nail surface before polish application. Most blocks have two or four sides with different grit levels, moving from coarse to fine to shine. Over-buffing thins the nail plate over time. Two or three passes per nail is enough. Price range: $4–$10.
Cuticle Tools
Cuticle pushers and nippers are manicure tools whose names often confuse beginners. The pusher moves the softened cuticle back from the nail plate. The nipper cuts away only the dead skin tags at the sides. Soak the cuticle in warm water for two minutes first. Price range: $6–$20 for a set.
Choosing the right nail shape before you file also affects how your prep tools perform. A square nail files differently than an almond or coffin shape.
Category 2: Nail Art Brushes Types
Nail art brushes are the most versatile nail art instruments in the kit. 55% of nail tool manufacturers shifted to sustainable, eco-friendly production materials in 2026 (Business Research Insights, 2026), and brush production led that change. The brush types below cover the full range, from basic to professional.
Liner and Striping Brushes
Liner brushes have long, thin bristles that draw fine lines in a single stroke. These brushes suit geometric patterns, French tips, and abstract nail designs. The key is keeping the bristles clean and aligned after each use. Price range: $8–$20 for a set of 5.
Detail and Round Brushes
Detail brushes have a pointed round tip that allows fine freehand work. Flower petals, script lettering, and small character art all rely on this brush type. The tip should come to a clean point when wet. Size 00 or 000 suits very fine work. Price range: $5–$15 per brush.
Flat, Shader, Fan, and Ombre Brushes
Flat brushes fill large areas and handle French tip designs. A shader brush blends two colors together without a hard line. Fan brushes spread glitter and loose powder evenly. Ombre brushes have a wider, tapered shape that blends two colors from one side to the other — the best single-tool option for gradient nails.
Gel Nail Art Brushes and Synthetic vs. Natural Bristles
Gel brushes use firmer synthetic bristles that push thick gel product without absorbing it. A soft natural-bristle brush will soak up gel and deliver an uneven, patchy finish. Natural bristles suit regular nail polish and fine freehand work. Synthetic bristles are the right choice for gel, acrylic, and any solvent-heavy product. Always match the brush type to the product type.
Category 3: Stamping and Transfer Tools
Nail stamping kits bring complex patterns to nails in under two minutes per hand. A basic nail stamping kit includes three components: the plate, the stamper, and the scraper. Stamping plates are thin metal sheets engraved with designs. The stamper picks up the image and transfers it to the nail. The scraper removes excess polish from the plate. Price range: $10–$25 for a plate pack, $5–$15 for a stamper set.
Category 4: Dotting Tools for Nails and Line Tools
Dotting tools for nails are among the most beginner-friendly instruments available. A basic set of 5 double-ended dotting tools gives you 10 different dot sizes and costs between $5 and $15 — the lowest-risk first purchase in any nail art tools list. They create polka dots, flower centers, teardrop shapes, and scales with almost no learning curve.
Striping tape creates clean geometric lines between colors. Lay it down before the second color, then peel while the polish is still slightly tacky. Nail art pens draw directly on the nail surface and suit lettering, fine outlines, and quick accent designs. Price range: $6–$12 per pen set.
Dotting tools and striping tape are especially effective on short nail art designs where space is limited. Simple repeated patterns fill small nail surfaces better than complex freehand art.
Category 5: Embellishment and Finishing Tools
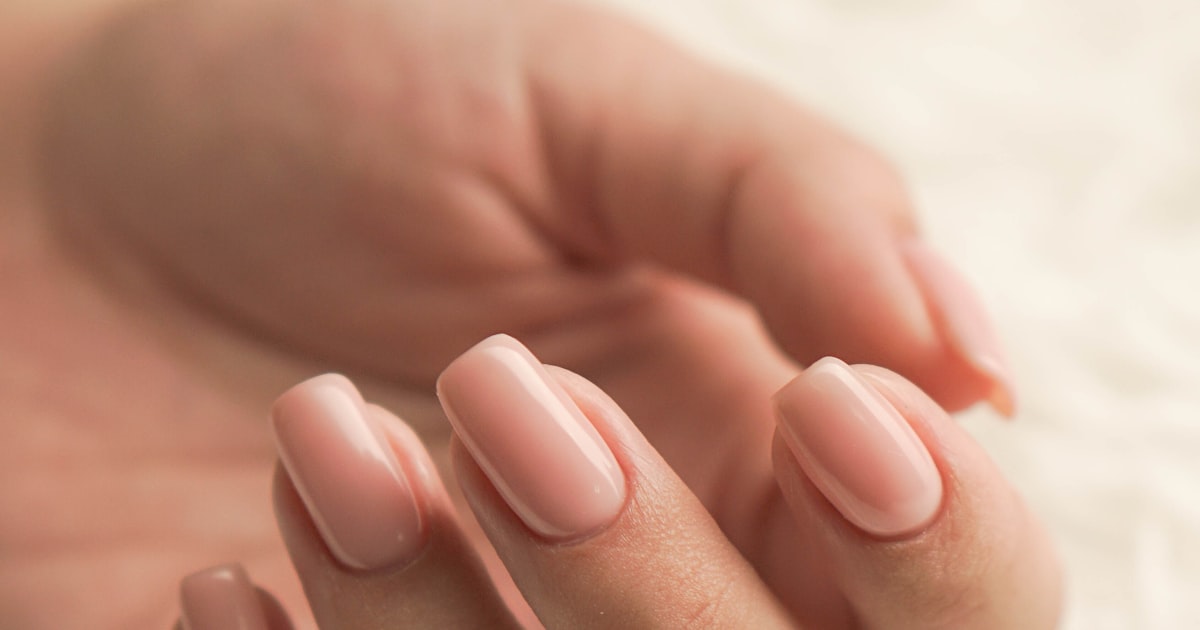
Embellishment tools handle the final layer of decoration. 65% of consumers prefer at-home nail care solutions (Business Research Insights, 2026), which is exactly why rhinestone applicators and foil kits now appear in mass-market stores alongside professional supply lines.
A rhinestone applicator has a soft wax tip that picks up small gems precisely. A good wax-tip applicator costs $5–$12. Foil sheets transfer metallic patterns to the nail over a sticky adhesive base — price range $8–$20 for a kit. Makeup sponges create ombre gradient effects by dabbing two colors together at their edges, usually under $5 for a pack.
Complete Nail Art Instruments Comparison Table
The table below covers all 18 nail art instruments across five categories in one place. No competitor guide brings prep, art, and finishing nail art instruments into a single comparison. Use it to identify gaps in your current kit and prioritize your next purchase.
| Tool | Category | Primary Use | Skill Level | Price Range |
|---|---|---|---|---|
| Glass Nail File | Prep | Shape nail edge, seal tip layers | Beginner | $5–$12 |
| Buffer Block (4-way) | Prep | Smooth ridges, prep surface | Beginner | $4–$10 |
| Cuticle Pusher | Prep | Push back softened cuticle tissue | Beginner | $4–$8 |
| Cuticle Nipper | Prep | Remove dead skin tags at nail sides | Intermediate | $8–$20 |
| Liner/Striping Brush | Brushes | Draw fine lines and geometric patterns | Intermediate | $8–$20 (set) |
| Detail/Round Brush | Brushes | Freehand floral and character art | Intermediate–Pro | $5–$15 each |
| Flat Shader Brush | Brushes | Fill large areas, French tip | Beginner | $6–$14 each |
| Fan Brush | Brushes | Apply glitter and loose powder | Beginner | $5–$10 each |
| Ombre/Gradient Brush | Brushes | Blend two colors for gradient effect | Intermediate | $8–$18 each |
| Gel Art Brush | Brushes | Apply gel products for sculpted art | Intermediate–Pro | $10–$25 each |
| Stamping Plates | Stamping | Transfer engraved patterns to nails | Beginner | $10–$25 (pack) |
| Stamper + Scraper | Stamping | Pick up and transfer stamped designs | Beginner | $5–$15 (set) |
| Dotting Tool Set | Dotting/Line | Create dots, flowers, scale textures | Beginner | $5–$15 (set) |
| Striping Tape | Dotting/Line | Mask clean lines between colors | Beginner | $3–$8 (roll) |
| Nail Art Pen | Dotting/Line | Outlines, lettering, quick accents | Beginner | $6–$12 (set) |
| Rhinestone Applicator | Embellishment | Place gems precisely on wet gel | Beginner | $5–$12 |
| Foil Kit | Embellishment | Transfer metallic foil patterns | Beginner–Intermediate | $8–$20 (kit) |
| Makeup Sponge | Embellishment | Blend colors for ombre gradient nails | Beginner | Under $5 (pack) |
How to Build Your Nail Art Kit: Beginner to Pro
Most guides tell you what nail art instruments exist. Fewer tell you what order to buy them in. The framework below is built around budget thresholds so you can build capability progressively without buying nail art instruments you’re not ready to use.
Starter Kit: Under $30
Start with a glass file ($8), a buffer block ($5), a dotting tool set ($8), and a pack of striping tape ($4). That’s $25 and covers prep plus two full art categories. Add one detail brush ($5) if budget allows. These tools handle the designs in most beginner nail art tutorials. With just a dotting tool set and striping tape, you can recreate dozens of nail art designs for short nails that look professional but take under 20 minutes.
Intermediate Kit: $30–$80
Add a stamping kit ($15), a full brush set with liner, flat, and ombre brushes ($25), and a rhinestone applicator with a small gem assortment ($15). This brings your total to roughly $55–$80 and opens up stamped patterns, gradient designs, and embellished finishes.
Professional Full Set: $80 and Above
A professional kit adds gel-specific brushes ($20–$50 for a quality set), a large stamping plate library ($30–$60), professional cuticle nippers ($20–$35), and foil kits. Total investment lands between $150 and $300 for a genuinely complete professional setup. If gel nail art is your focus, see our guide to short gel nail designs for design inspiration that showcases what a professional kit can achieve.
How to Clean and Maintain Your Nail Art Tools
Proper nail art instruments maintenance separates a kit that lasts two years from one that needs replacing in six months. The steps below apply after every single use, not just weekly.
- Brushes: Wipe excess polish on a lint-free cloth immediately after use. Dip in nail polish remover (acetone-free for natural bristles, acetone for synthetic). Reshape the tip with your fingers and lay flat to dry. Never store wet brushes bristle-down.
- Dotting tools: Wipe the metal tip on a dry cloth while polish is still wet. If polish has dried, soak the tip briefly in acetone and wipe clean.
- Stamping plates: Remove excess polish with acetone on a cotton pad after each session. Store plates flat in a protective sleeve to prevent scratches on the engraved surface.
- Metal cuticle tools: Wipe with an alcohol wipe after every use. Store in a clean pouch where the tips cannot chip or dull against other tools.
- Files and buffers: Tap off debris after filing. Wash with mild soap and warm water, then air dry completely before storing.
Want to explore more styles? Check out Abstract Art Nail Guide, Nail Stamping Plates, and Builder Gel Nails.
You might also like Abstract Art Nail Guide.
5 Common Mistakes With Nail Art Instruments (And How to Fix Them)
Nail art instruments mistakes are more specific than most people expect. It’s rarely about using the wrong nail art instrument entirely — it’s usually about using the right one incorrectly or in the wrong sequence.
- Filing in a sawing motion: Back-and-forth filing frays the nail layers and causes peeling. File in one direction only, from the outer edge toward the center.
- Using natural bristle brushes with gel products: Natural bristles absorb gel and become stiff after curing. Switch to firm synthetic bristles for all gel art.
- Over-loading the dotting tool: Dipping too deep creates a blob, not a dot. Dip just the very tip of the ball into the polish surface and press gently.
- Peeling striping tape off after the polish dries: If polish is fully dry, the tape pulls up the color with it. Peel while the second color is still slightly tacky.
- Stamping with regular nail polish: Regular polish is too thin for stamping plates. Use dedicated stamping polish, which is thicker and more pigmented. The difference is immediate.
Frequently Asked Questions About Nail Art Instruments
What nail art tools should a beginner buy first?
A glass file, a buffer block, and a dotting tool set cover the most ground for under $25. These three tools handle nail prep and basic art across dozens of beginner designs. 65% of consumers now prefer at-home nail care (Business Research Insights, 2026), and these tools are all you need to get started confidently at home.
What’s the difference between gel nail art brushes and regular nail art brushes?
Gel brushes use firm synthetic bristles that push thick gel product without absorbing it. Regular nail art brushes use softer natural or nylon bristles suited to thinner polish. Using a natural bristle brush with gel causes uneven coverage and bristle stiffening after curing. Always match brush type to product type for clean, consistent results.
How many nail art brush types do I actually need?
Three brush types cover most nail art: a detail round brush, a flat shader brush, and a liner brush. That trio handles freehand art, color fills, and fine lines. Fan and ombre brushes add gradient and glitter capabilities when you’re ready. A full professional set of 10–15 brushes is only necessary once you’re doing varied client work regularly.
Do I need different nail decoration tools for acrylic nails versus natural nails?
Most art tools work on both surfaces. The differences are in prep tools only. Acrylic nails need a coarser file (100-grit) and a dehydrator before polish. Natural nails use a finer file (180-grit) and a gentle buffer. Art brushes, dotting tools, and stamping kits perform the same way on both types. See our guide to short acrylic nail ideas for design inspiration.
Conclusion
The 18 nail art instruments in this guide span five clear categories, and each one serves a specific role. Prep tools build the foundation. Brushes create freehand art. Stamping kits transfer complex patterns quickly. Dotting and line tools add texture and geometry. Embellishment tools finish with gems, foil, and powder. You don’t need all of them at once — start with the $30 starter kit, learn what each tool does, and add categories as your skills grow.
The market is growing fast because more people are discovering that great nail art at home is genuinely achievable with the right nail art instruments. What design are you planning to try first?
Related Nail Guides
- How to Remove Acrylic Nails at Home: Complete Guide
- Diamond Nails: 20 Rhinestone Looks That Stay Put
- Cat Eye Nails: How the Magnet Makes the Stripe
- Chrome Nails: 20 Finishes, From Glazed Donut to Mirror
- Gel Nail Manicure: What It Costs and How Long It Lasts
- Semi-Cured Gel Nail Strips: Do They Actually Last?
- How to Remove Gel Nail Polish at Home Without Damage
- How to Remove Dip Powder Nails Without Wrecking Them
Share this article